Next.js SaaS Starter Kit 🚀
-
-
Author
Binny Chanchal -
Published
Welcome to the Next.js SaaS Starter Kit! This starter kit is designed to accelerate your SaaS (Software as a Service) application development by providing a robust foundation with essential features out of the box. Whether you’re a developer, startup, or tech leader, this starter kit will help you build scalable, secure, and efficient SaaS applications with ease.
Overview
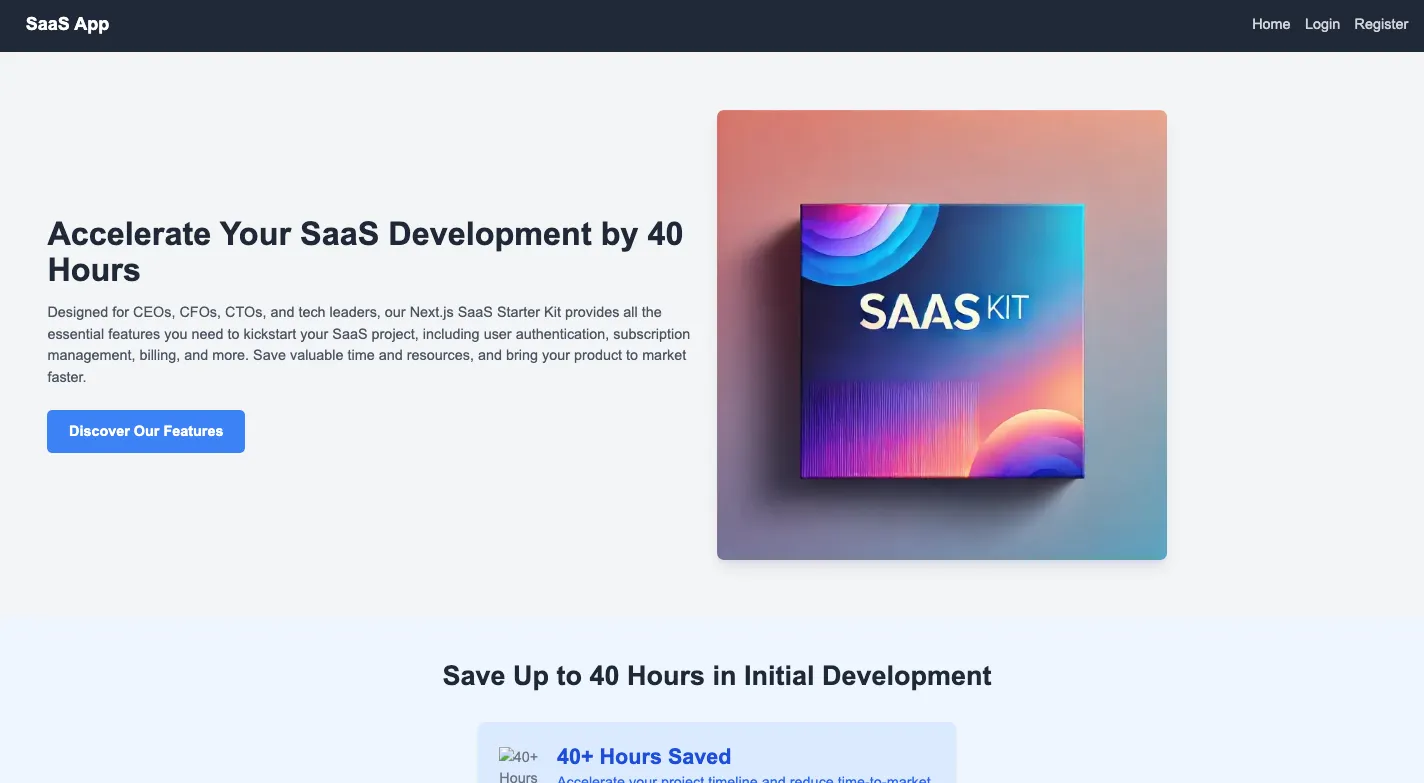
The Next.js SaaS Starter Kit is a robust foundation for building scalable SaaS applications. It includes essential features like user authentication, subscription management, billing, and more, allowing you to focus on delivering value to your users without worrying about the underlying infrastructure.
📦 Features
Our starter kit comes packed with a suite of powerful features:
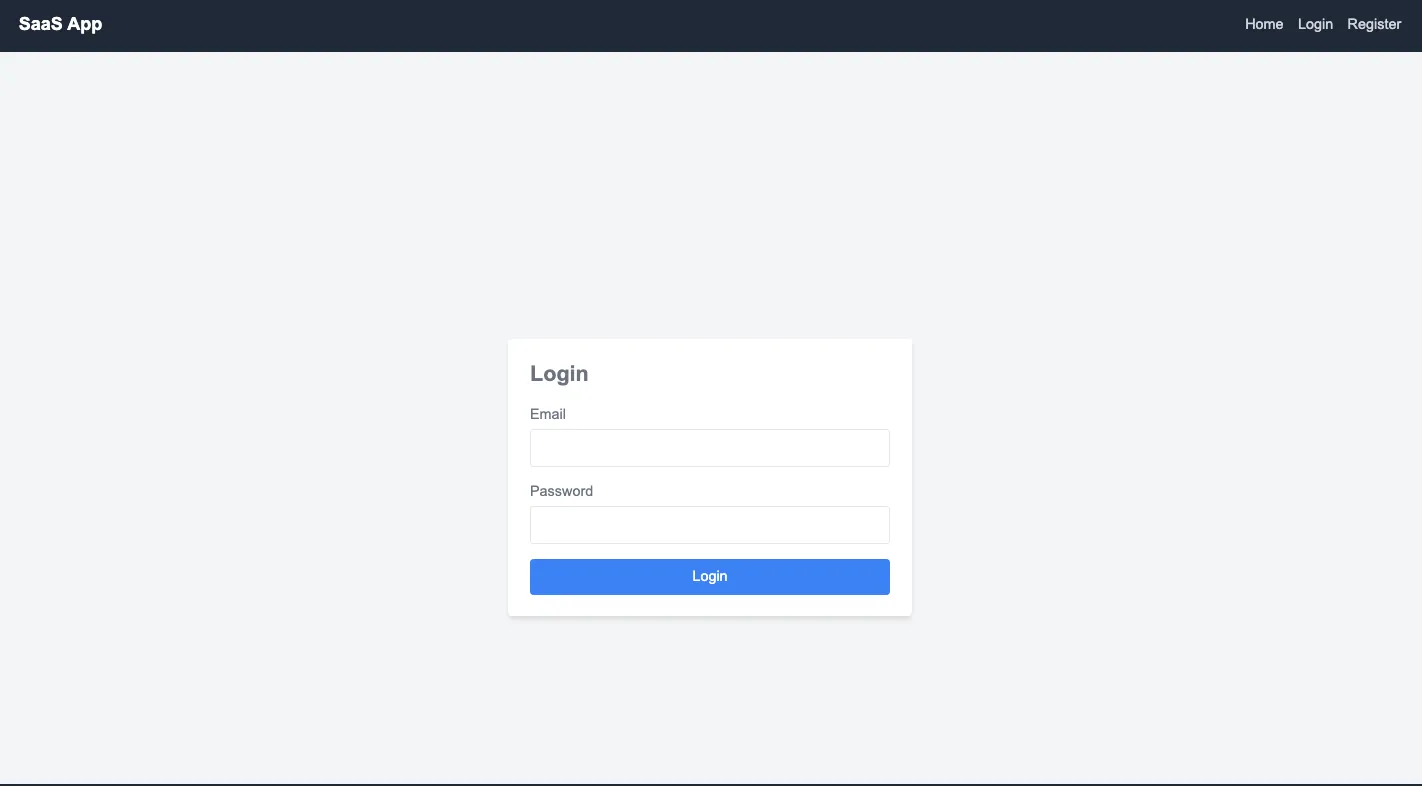
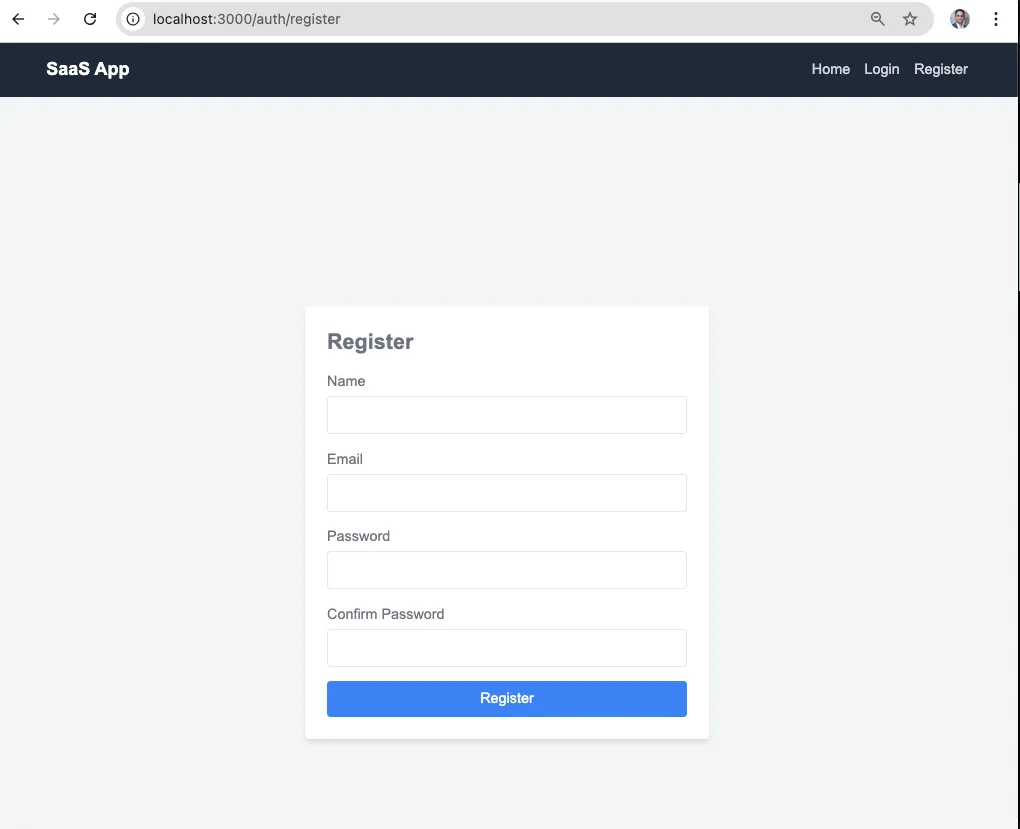
- User Authentication: Secure registration, login, and social authentication using NextAuth.js.
- Subscription Management: Integrated with Stripe for managing subscription plans.
- Billing and Payments: Automated invoicing and payment processing with Stripe.
- Dashboards: User and admin dashboards with real-time analytics.
- Email Notifications: Automated transactional and marketing emails.
- API Integrations: Ready-to-use integrations with third-party services.
- Styling: Responsive design with Tailwind CSS.
- DevOps Ready: Docker and Kubernetes configurations for easy deployment.
Technologies Used
- Frontend: Next.js, Tailwind CSS, React
- Backend: Next.js API Routes, NextAuth.js, Prisma ORM
- Database: PostgreSQL
- Payments: Stripe
- Email Services: SendGrid, Mailgun
- DevOps: Docker, Kubernetes
- Testing: Jest, React Testing Library
🛠 Getting Started
Follow these instructions to set up and run the project locally.
🚀 Prerequisites
Ensure you have the following installed on your machine:
- Node.js: v16 or higher
- npm or yarn or pnpm: Package managers
- PostgreSQL: Database system
- Docker (optional for containerization)
- Stripe Account: For payment processing
- Email Service Account: (e.g., SendGrid, Mailgun) for sending emails
📝 Installation
-
Clone the Repository
git clone https://github.com/BinnyDuskbyte/nextjs-saas-starter-kit.git cd nextjs-saas-starter -
Install Dependencies
npm install # or yarn install # or pnpm install -
Configure Environment Variables
Create a .env file in the root directory based on the .env.example file.
cp .env.example .envOpen .env and fill in your configuration details:
# Database Configuration DATABASE_URL="postgresql://username:password@localhost:5432/nextjs_saas?schema=public" # NextAuth Configuration NEXTAUTH_URL=http://localhost:3000 NEXTAUTH_SECRET=your_nextauth_secret # Stripe Configuration STRIPE_SECRET_KEY=your_stripe_secret_key STRIPE_PUBLISHABLE_KEY=your_stripe_publishable_key # Email Configuration MAIL_HOST=smtp.mailgun.org MAIL_PORT=587 MAIL_USERNAME=your_mailgun_username MAIL_PASSWORD=your_mailgun_password MAIL_ENCRYPTION=tls MAIL_FROM_ADDRESS=example@example.com MAIL_FROM_NAME="Next.js SaaS Starter" # Additional Configurations (if any) -
Initialize Prisma and Migrate Database
npx prisma migrate dev --name init npx prisma generate -
Run the Development Server
npm run dev # or yarn dev # or pnpm dev -
Access the Application
Open http://localhost:3000 in your browser to see the result.
You can start editing the page by modifying app/page.tsx. The page auto-updates as you edit the file.
🖥 Project Structure
Here’s an overview of the project’s directory structure:
/nextjs-saas-starter
├── /app
│   ├── /api
│   │   ├── /auth
│   │   │   └── [...nextauth].ts      # NextAuth.js API routes
│   │   └── /subscriptions
│   │       └── route.ts              # Subscription-related API routes
│   ├── /auth
│   │   ├── /login
│   │   │   └── page.tsx              # Login page
│   │   └── /register
│   │       └── page.tsx              # Registration page
│   ├── /dashboard
│   │   └── page.tsx                  # User dashboard
│   ├── /admin
│   │   └── page.tsx                  # Admin dashboard
│   ├── layout.tsx
│   └── page.tsx                      # Landing page
├── /components
│   ├── /layout
│   │   ├── Navbar.tsx
│   │   └── Footer.tsx
│   └── /ui
│       ├── Button.tsx
│       ├── FeatureCard.tsx
│       ├── StatisticCard.tsx
│       ├── TestimonialCard.tsx
│       ├── AnimatedSection.tsx       # Lottie Animation Section
│       └── PureSVGAnimatedSection.tsx# Pure SVG Animation Section
├── /lib
│   ├── prisma.ts                      # Prisma client setup
│   ├── stripe.ts                      # Stripe client setup
│   └── mails
│       └── SubscriptionConfirmation.ts # Email sending logic
├── /prisma
│   └── schema.prisma                  # Prisma schema
├── /public
│   ├── /animations
│   │   └── feature-animation.json      # Lottie Animation JSON
│   └── /images
│       ├── hero.jpg
│       ├── feature1.svg
│       ├── feature2.svg
│       ├── feature3.svg
│       ├── feature4.svg
│       ├── feature5.svg
│       ├── feature6.svg
│       ├── feature7.svg
│       ├── feature8.svg
│       ├── statistic.svg
│       ├── testimonial1.jpg
│       ├── testimonial2.jpg
│       └── animated-feature.svg        # Pure SVG Animation
├── /styles
│   └── globals.css                    # Global CSS with Tailwind directives
├── /tests
│   └── ...                            # Testing files
├── .env.example
├── tailwind.config.js
├── tsconfig.json
├── package.json
└── README.md
🛠 Configuration Details
📦 Prisma ORM
Prisma is used for database interactions. The schema is defined in prisma/schema.prisma. Ensure that the DATABASE_URL in your .env file is correctly set to connect to your PostgreSQL database.
🔐 Authentication with NextAuth.js
NextAuth.js manages user authentication. Supported providers can be configured in app/api/auth/[…nextauth].ts. By default, it includes credential-based authentication, but you can add OAuth providers as needed.
💳 Payment Processing with Stripe
Stripe is integrated for handling payments and subscriptions. Configure your Stripe API keys in the .env file. The Stripe client is set up in lib/stripe.ts.
📧 Email Notifications with NodeMailer
NodeMailer is used to send transactional emails, such as subscription confirmations. Configure your email service credentials in the .env file. The email sending logic is encapsulated in lib/mails/SubscriptionConfirmation.ts.
🎨 Styling with Tailwind CSS
Tailwind CSS is employed for styling, allowing for rapid and responsive UI development. Customize your Tailwind configuration in tailwind.config.js to match your branding and design preferences.
🧪 Testing
The project is set up with Jest and React Testing Library for unit and integration testing. Sample tests are located in the /tests directory. To run tests:
npm run test
# or
yarn test
# or
pnpm test
🚀 Deployment
🐳 Docker Deployment
A Dockerfile and docker-compose.yml are provided for containerizing the application.
-
Build and Run Containers
docker-compose up --build -
Access the Application
Visit http://localhost:3000 to see the application running inside Docker containers.
-
🛡 Kubernetes Deployment
For scalable deployments, Kubernetes manifests can be created based on the Docker setup. This allows for orchestrating containers in a production environment.
-
🌐 Deploy to Vercel
Vercel is a great platform for deploying Next.js applications.
-
Push to GitHub
Ensure your project is pushed to a GitHub repository.
git init git add . git commit -m "Initial commit" git remote add origin https://github.com/BinnyDuskbyte/nextjs-saas-starter-kit.git git push -u origin main -
Connect to Vercel
- Sign in to Vercel and import your GitHub repository.
- Configure environment variables in Vercel based on your .env file.
- Deploy the application directly from Vercel’s dashboard.
-
🛠 Development Tools
- ESLint: Ensures code quality and consistency.
- Prettier: Code formatter for maintaining a uniform code style.
- Turbopack: Next-generation bundler for improved build performance.
📚 Documentation
- Next.js Documentation: https://nextjs.org/docs
- NextAuth.js Documentation: https://next-auth.js.org/getting-started/introduction
- Prisma Documentation: https://www.prisma.io/docs
- Stripe Documentation: https://stripe.com/docs
- Tailwind CSS Documentation: https://tailwindcss.com/docs
- NodeMailer Documentation: https://nodemailer.com/about/
- React Documentation: https://react.dev/
- Typescript Documentation: https://www.typescriptlang.org/
- MDN Documentation: https://developer.mozilla.org/en-US/docs/Web/JavaScript
Contributing
Contributions are welcome!
📝 License
This project is licensed under the MIT License.
📬 Contact
For any inquiries or support, please contact binny@duskbyte.com.
🎉 Thank You!
Thank you for choosing the Next.js SaaS Starter Kit! We hope this starter kit helps you build amazing SaaS applications efficiently and effectively. If you have any feedback or suggestions, feel free to open an issue or contribute to the project.
Happy Coding! 🚀
📸 Screenshots


